
This step-by-step guide below is the ultimate resource for someone looking to start bow hunting whitetail deer successfully.
The first thing new bow hunters need to understand is that there is an upfront cost of time and money to start to see success. Buying a bow is one of the largest costs to getting started, but there is other equipment you might want to buy like a tree stand or hunting clothes. Also, there are several skills to learn in your first year that will help you be successful at killing deer consistently.
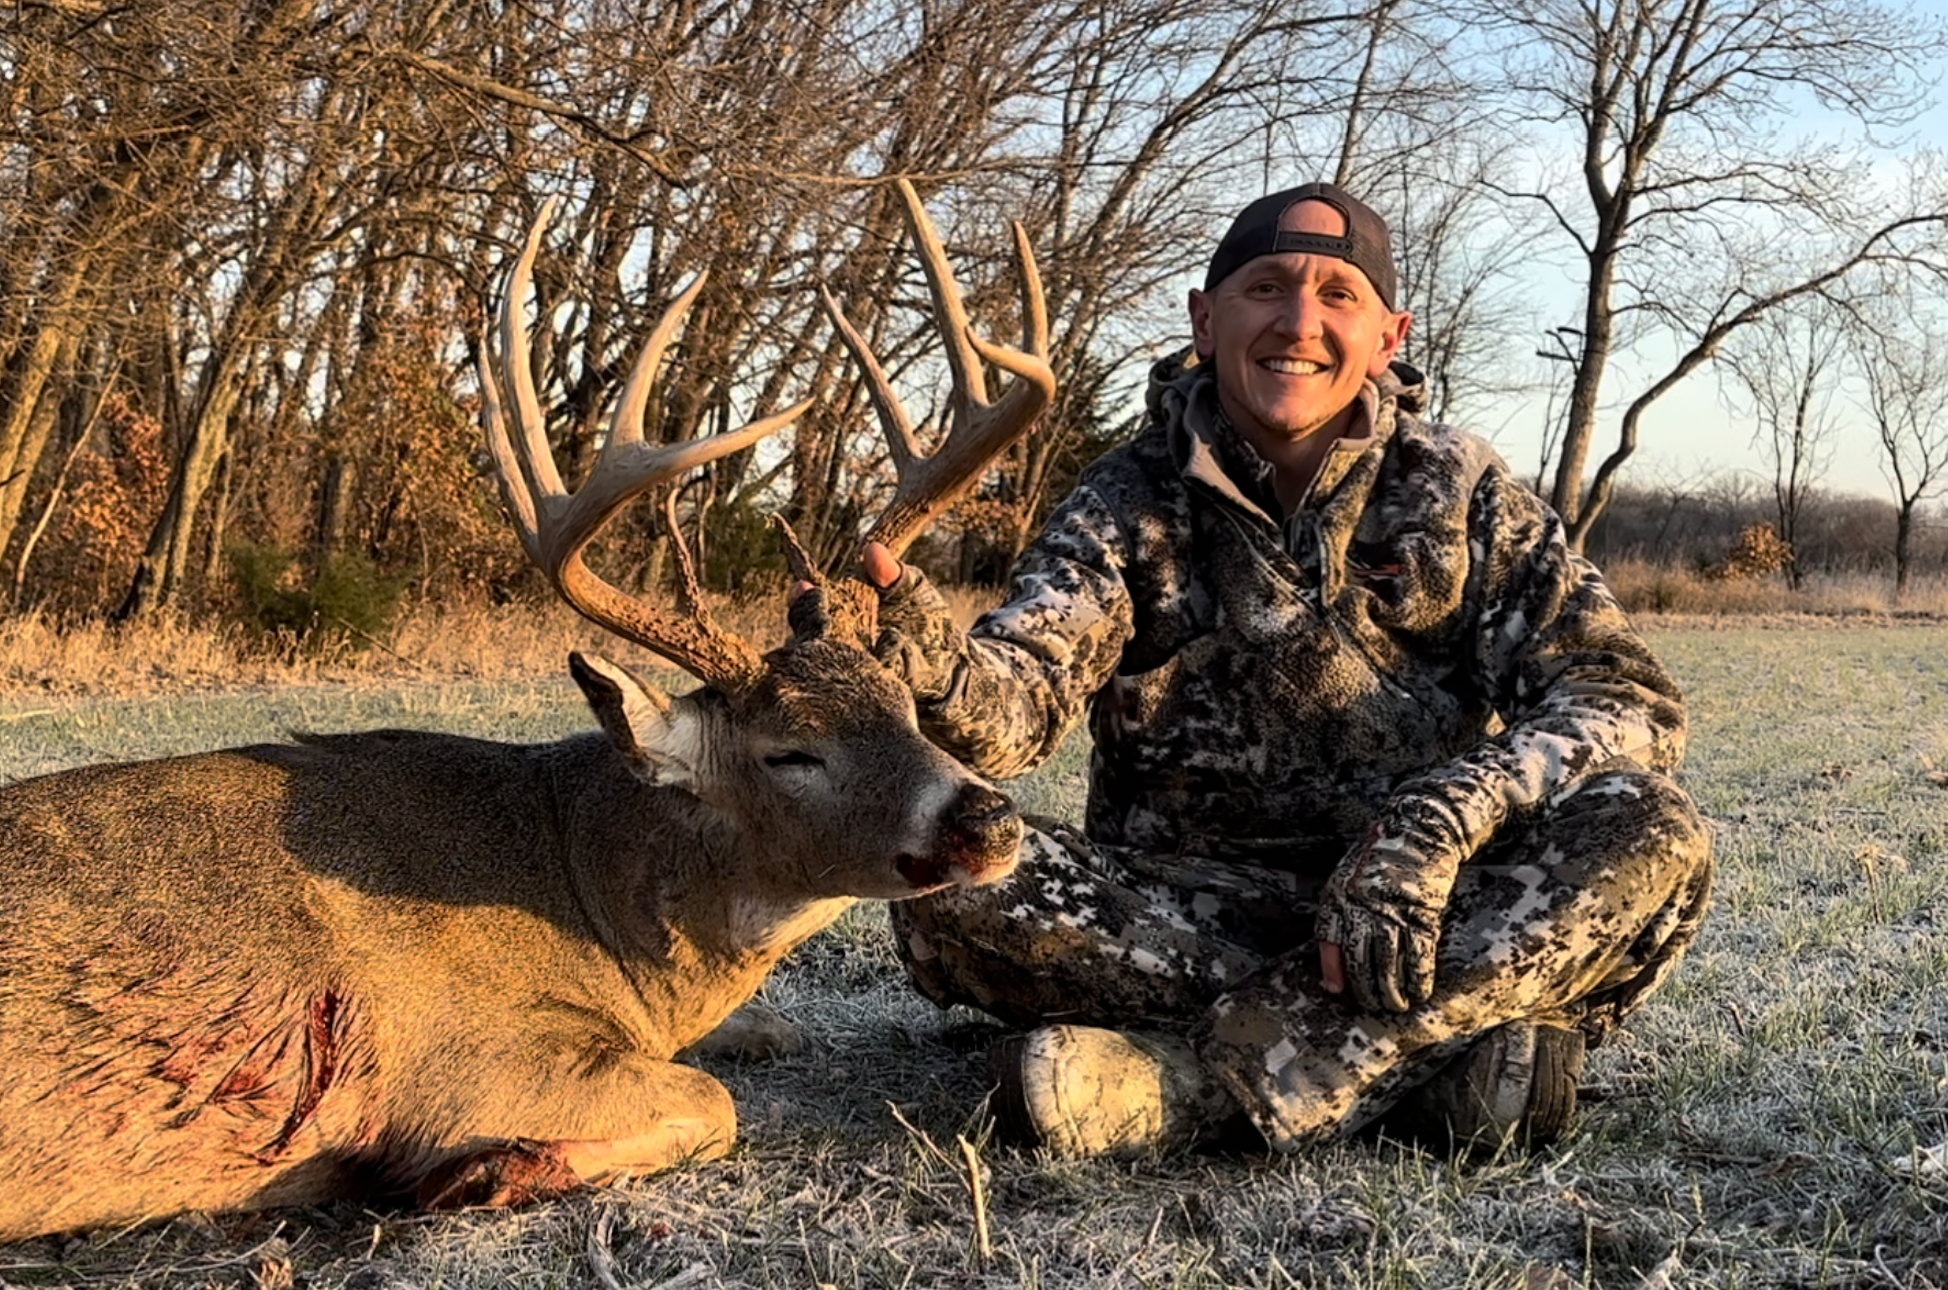
The second thing new bow hunters should consider is who they are getting their advice from. Is that person experienced and achieving the same kind of success that you want to achieve for yourself? I have been hunting deer with only a bow in hand for many years. Click here to see some of my bucks (all shot with a bow) and learn more about my hunting background.
Lastly, you will cut years off of your learning curve if you complete this entire step-by-step guide and follow my advice in each of the articles linked below. Absorb all of this information, apply it, and you will achieve success faster and save money in the process.
Directions:

This is a fully comprehensive step-by-step guide. All you have to do is follow the steps, read the articles that I linked to (if applicable), learn the information, and then take action.
It takes a lot of time to complete all 18 steps. Therefore, click this link to sign up and download my free guide to help you easily reference all these steps in future.
Step 1. Take a Hunters Education Course
You may or may not have to take a hunters education course to legally hunt deer in your state. However, it might be a good idea to take a course whether you’re required to or not. To find out if you’re required to take a course, read your state’s hunting rules and regulations (Step 6).
- Read this article: What is the number one rule of hunting
Step 2. Get connected (Mentors, forums, social media groups, local bow shops)
Getting connected is about educating yourself about deer hunting and how to be successful at it. Keep in mind that there’s a lot of good and bad information out there. Finding a good mentor is likely the best method for increasing your odds of having a successful deer season in the first year or two. A good mentor will steer you away from bad information and prevent you from adopting bad habits.
An experienced deer hunting mentor with extra time on their hands, and a strong moral compass, is not easy to find. Don’t worry if you if can’t find a mentor who can spend a lot of time teaching you. The main thing here is to find trusted sources of information that you can learn from. Start by following me on social media and reading the blog posts on my website. I created them specifically for new deer hunters like you.
Step 3. Buy your bow, arrows, and their accessories
- Read this article: How to choose a compound bow for deer hunting: Step-by-Step
- Read this article: How to choose an arrow for a compound bow for deer hunting
Step 4. Get your bow set up and tuned
I prefer to take my bow to a bow shop anytime I need work done on it. As a new bow hunter, I suggest you do the same thing. The bow shop will be able to do everything that’s needed to get your bow set up, including paper-tuning it. Paper-tuning is an important step for shooting accuracy so your arrows are shooting perfectly straight as it leaves the bow.
Step 5. Practice shooting your bow
Shooting a bow for the first time feels awkward. It takes a lot of practice for that awkward feeling to become natural.
Practice shooting as much as possible in your first year. Bow hunters make better shots during the moment of truth when our instincts naturally kick in.
Once shooting a bow feels natural to you, it doesn’t take much practice to prepare for future deer season.
- Read this article: How long to practice shooting a bow before hunting
Step 6. Read your states hunting rules, laws, and regulations
There’s a lot of information to educate yourself with in regards to your states hunting laws and regulations. It’s very important to learn these rules and keep up with changes that are made to them from year-to-year.
To read the laws and regulations for your state, do a google search by entering your states name and “deer hunting laws and regulations”. Most states have a website dedicated to wildlife where they publish these rules. Depending on your state, a printed version of these rules can also be found at local hunting shops.
Don’t rely on someone else to tell you what is legal and not legal. Many “experienced” deer hunters don’t follow the rules and get in big trouble for it. If you adopt bad habits, or follow bad advice, it can cost you greatly and potentially land you in jail.
Step 7. Find a property where you can hunt
Here are your options:
- Public land (Anyone can hunt because it’s open to the public)
- Special hunting areas (Open to the public but usually come with a level of difficulty in order to get access to them)
- Private land (You own the property)
- Private land (You get permission to hunt someone’s property for free)
- Lease land (You pay for the rights to hunt someone’s property)
There is a lot of public land to hunt deer on if you don’t have access to private property or lease ground. Most public hunting areas can be found on your states wildlife website. However there might be other public hunting opportunities in your area to ask about and search for.
- Read this article: Public vs Private Land for Deer Hunting: Which is Best?
Step 8. Read rules for public hunting areas
Public hunting land and special hunting areas have their own unique rules and guidelines. Some properties have more restrictive rules than others.
To learn about these rules, you can usually find everything you need online. However, there have been several times when I had to make a roadtrip to these lands and acquire that information in person.
There is usually a building located on the property that will have the resources available to answer any questions you have about the rules. These building aren’t always staffed with people. If you get a chance to talk to someone, be sure to ask them lots of questions. You can learn a lot from these conversations.
Step 9. Start scouting and find your hunting spots
Identify several specific locations that you believe could be great hunting spots. Build a portfolio of these spots and mark them on a map like the onX Hunting App so you can remember where they are later. The more spots you identify the better.
Aim to have multiple spots that can be hunted effectively no matter what the wind direction is. This is a huge part of being successful because playing the wind is huge part of being a successful deer hunter.
You will learn over time that some spots produce better luck than others. That’s why it’s so important to move around and have a lot of options. If you only pick one spot and it’s a bad one, you will end up spending a lot of time without having any luck.
Lastly, the more spots you have the easier it will be to limit the amount of hunting pressure you put on a specific area. Deer that don’t feel pressured are easier to kill.
- Read this article: How to scout for deer
Step 10. Buy your license/permit/tags
Buying your license, tags, and/or permits can be as easy as going to Walmart and buying them over the counter. You should also be able to buy them online by visiting your states wildlife website. Many states have an app for your phone where you can also buy your license, tags, and/or permits. If your state has an app, I suggest buying your tags on the app so it’s easy to record your harvest whenever you shoot a deer.
Some states can be very restrictive on the number of deer they allow to be harvested. The process for getting a tag isn’t always easy, especially if you are a non-resident. However, the difficultly of buying licenses, permits, and/or tags will vary from state to state.
All information about licenses, permits, and tags can be found on your states wildlife website. All states have their own unique laws and requirements.
Step 11. Buy hunting clothes
You don’t have to spend a lot money on hunting clothes. It’s possible that you already have clothing that you can use. With that being said, quality hunting clothes does make a big difference when it comes to comfort, convenience, and conceal-ability. Learn more by clicking the links below.
- Read this article: What do you need to wear for deer hunting
- Read this article: Best Camo for deer hunting
- Read this article: Best budget camo for deer hunting
Step 12. Buy everything else you need (treestands, deer calls, lights, knives, etc.)
Every deer hunter needs a slightly different list of items based on their hunting style. However, these are the basic items that I suggest every deer hunter to purchase after buying a bow, arrows, and clothing:
- Tree stand -or- ground blind -or- ghillie suit
- Grunt/bleat call
- Headlamp -or- small flashlight
- Gutting knife
- Rangefinder
- Spotlight
There are a lot of bad products and gimmicks for sale on the market today. Do your research before buying anything. I wrote a blog post (linked below) that has a checklist of every item a deer hunter might need. In that checklist, I added a link for every product that I recommend buying. Those links will help you make purchase decisions that you won’t regret later on.
- Read this article: Everything you might need for a deer hunt (Checklist)
Step 13. Prepare for the hunt
Most deer hunters who are consistently successful at killing deer will prepare their equipment and hunting spots before hunting season starts. They also prepare themselves mentally and physically.
Spend as much time as possible during the offseason to prepare for the upcoming hunting season. Pre-hang treestands, trim shooting lanes, clean hunting clothes with scent free laundry detergent, learn about different hunting tactics, practice using deer calls, etc.
There is a lot to learn as a new deer hunter so have a long-term mindset and don’t set unreal expectations for yourself.
- Read this article: 52 Tips for hanging treestands for deer hunting
- Read this article: How to manage your scent to see more deer
- Read this article: Best way to wash hunting clothes for deer hunting
- Read this article: What is the most effective way to hunt deer?
- Read this article: 21 methods for getting deer within bow range
- Read this article: Are deer more active at night?
Step 14. Kill a deer
The time has come for you to execute on everything you practiced and prepared for. Make sure you have a hunting strategy in place for every single hunt and then go in for the kill.
Pay close attention to where your arrow hit the deer and how it responded when It ran away. Also, keep your eyes and ears open to see If you can hear or see the deer fall over and die. These basic tips will help you find your deer and make decisions on when to start tracking it.
- Read this article: Where to aim when shooting a deer with a bow
Step 15. Find your deer and register it (tag it)
After you shoot a deer, you may or may not see if fall over and die. If you didn’t see it die, don’t go looking for it right away. Read the article below to learn more when to start tracking it.
After you find your deer the first thing you should do is tag it or record it per your states laws and regulations. Don’t move the deer or start field-dressing it until you complete this step. This will help keep you out of trouble.
- Read this article: How to track a shot deer: Step-by-Step Guide
Step 16. Field-dress your deer
Field dressing a deer means removing the guts. We will talk about processing and removing meat off the bone in the next step.
Have you ever heard the saying “there is more than one way to skin a cat”? Well, the same is true for field-dressing a deer. There are a lot of ways to do this, but here are the main objectives:
- If you plan on shoulder-mounting a trophy buck do NOT cut the hide above its sternum so you don’t ruin the cape.
- Don’t poke the guts with your knife. Use a gut hook, or protect the guts with your other hand while cutting with your knife.
- Keep the meat clean. Rinse the deer out with water after field-dressing it.
- Get the deer cooled down as soon as possible. If the temperature is greater than 40F, put a bag of ice within the deer’s body cavity and on the inside of its back legs until you get it to the processor or process it yourself.
- Watch this video: How to field dress a deer on the ground (doe)
- Watch this video: How to field dress a deer on the ground (Trophy buck that is getting mounted)
- Watch this video: How to field dress a deer on the ground (Buck that is NOT getting mounted)
- Watch this video: How to field dress a deer while it’s hanging
Step 17. Get the deer processed
The easiest way to get your deer meat processed is by taking it to a deer processor. This is what I typically do because of how much time it saves me. However, paying for processing will cost more money than if you did it yourself.
If you don’t have someone to help you that knows what they are doing, I recommend paying for a deer processor in your first year of hunting.
If you want to process your own venison, there will be an upfront cost in all the equipment that’s needed. But that equipment will pay for itself over time if you plan on shooting several deer.
If you shot a trophy buck and plan on mounting it, make sure to tell the processor that you want the buck to be caped out. A caped out buck should be stored in a freezer so that no bacteria grows on it. We don’t want the cape to get wet. Therefore, they are typically placed inside a garbage bag.
You will need to decide how you want the deer to be processed. Processors are all unique in the options they provide for their customers. For example, some processors might not do jerky or sausage. Talk with the processor and have them explain what your options are so you can place an order with them.
- Watch this video: How to cape a deer that you plan on mounting
- Watch this video: How to butcher a deer and process it
Step 18. Take your trophy to the taxidermy
If you plan on getting taxidermy work done on your deer, make sure your tag is attached to the head or antlers (if required by your state) before transporting it to the taxidermy. Once the taxidermy receives your deer, all that’s left to do is wait to get it back.
Expect to wait several months before your mount is completed. Most taxidermy’s i’ve worked with usually take 6-15 months to complete their work. On average, I usually get my mount back in about 11 months. It just depends on who your taxidermy is. Ask them how long it typically takes to complete a deer and return it to their customers.