How long to practice shooting a bow before hunting


I have been shooting a compound bow since the late 2000’s. However, I don’t practice all year long. I’ve learned over the years that I will be shooting good enough to go hunting if I give myself about ten rounds of practice over the course of 2-4 weeks. If you are a beginner, it’s important to shoot your bow a lot your first year so that you have muscle memory and shooting confidence for future years.

Before deer hunters start hunting, they should be able to consistently hit a paper plate from 30 yards away with broadheads on their arrows. Hunters should also practice and hunt with a bow that meets the legal requirements to kill a deer.

Shooting a bow at a range versus shooting a bow while hunting, is likely going to be a completely different experience. It’s more difficult to shoot a bow accurately in a hunting situation. Therefore, even if you can consistently hit a paper plate at 30 yards at the range, you should try these 20 things below to make sure you can repeat that accuracy during a hunting situation.

20 different ways to prepare yourself to start hunting

1. Build your strength

If you haven’t pulled a bow back before don’t be surprised if you can’t pull it back the first time. I would consider myself physically fit, playing sports and lifting weights most of my life. My first bow was set up with a 65lb draw-weight which seemed easy for me to pull back, until I tried doing it for the first time. Pulling a bow back for the first time is an extremely awkward feeling. It will take a lot of practice before this motion feels natural to you.

If you have a hard time pulling your bow back, consider lowering the draw-weight on your bow. Many bows are engineered so that you can adjust the draw-weight to increase or decrease the poundage of the bow. Decreasing the draw weight makes it easier to pull back but it will also reduce the speed of your arrow.

If you are a beginner, consider having the bow shop adjust the draw weight on your bow for you. Reducing the draw weight will help you get more comfortable shooting the bow. Once you get comfortable shooting, consider increasing the draw weight on your bow to increase your arrow speed. Keep in mind that there is legal requirement for your draw-weight to be a certain poundage to legally hunt with it.

If you don’t have the strength to pull your bow back at its lowest poundage, you need to get a bow with a lower draw-weight or build up your strength. Hitting the gym to lift weights and perform resistance band exercises is a great way to increasing your shooting strength.

2. Learn your bow and its accessories

I recommend most hunters to take their bow and accessories to a local bow shop to get it set up for the first time. Bow shops have the equipment and experts to get your bow shooting accurately. Those experts can also teach you everything you want to know about that bow. They should set up everything on your bow such as your arrow rest, bow sight, peep sight, kisser button, etc.

Learn how to adjust your sight on your own. If it were to accidentally get moved out of its locked position you will be able to easily get it set back into place. If you don’t know how to adjust your pins just ask the bow shop to show you how to do it.

3. Practice good shooting form

When you shoot a bow it’s important to shoot it with the same mechanics every time. Consistent shooting form will help make you deadly accurate with your bow.

  • Grip – Make sure your grip is touching the bow on the thumb side of your hand and not in the middle of your palm. Also, don’t wrap your fingers tightly around the grip as this can torque your bow left or right. You fingers should be loose and relaxed. Most of the time my fingers don’t touch the bow at all during full-draw.
  • Anchor Points – If you are shooting with a release, make sure the release sits in your hand the exact same way every time. When your bow is pulled back, your hand should touch your face comfortably in the same location. The other anchor points that I consider critical are how the bow string meets your mouth and nose. I have a kisser button installed on my bow that I use to touch the corner of my mouth. The bow string will also touch the tip of my nose. When all of these anchor points are repeated for every shot, you will shoot much better.
  • Back tension – Back tension helps you hold the bow at full draw longer. Most compound bows have a high percentage of let-off. This means you can hold the bow at full draw right against the back wall without much effort. Therefore, learn how much tension is needed to keep that bow at full draw as long as possible. You shouldn’t have to pull back very hard against the back wall once you come to full draw.
  • Stance – Make sure your feet are not close together while shooting. You want them at least shoulder width apart or slightly wider. This will increase your ability to keep a steady aim on target. Don’t position your body perfectly perpendicular to the target. You don’t want to have to turn your head exactly 90 degrees to take aim on the target. Open up your hips slightly to make your shot more comfortable and natural feeling.

4. Aim your bow without shooting it

This is one of the best ways to cure target panic. Additionally, you will be able to increase the amount of time that you can keep aim on a target before you have to let your bow down. To practice aiming your bow without shooting it, you need to nock an arrow, draw your bow back, take aim with your finger on the trigger, and then hold your aim on target while never firing a shot. The key is you never fire a shot.

5. Get coaching

Most hunters will never have a shooting coach, and that’s ok. However, if you aren’t an experienced archer, you should still seek knowledge on how to be a better shot and then put that knowledge to practice. Ask for shooting tips from your hunting friends or a local bow shop. You can also watch videos on YouTube and get advice from professional archers.

6. Film yourself shooting

It’s easier to recognize opportunities for improvement if you film yourself. You can also show your video to others and ask for their advice.

7. Shoot at 3D targets

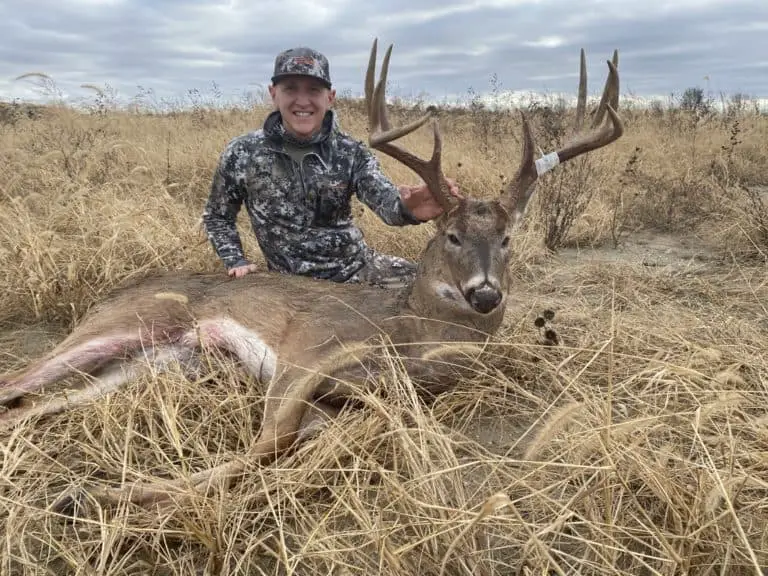
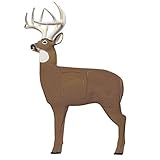
Shoot a 3D target if you can. Shooting a standard block target is great, but it’s different from taking aim on a 3D deer target with no dot to aim at. Shooting 3D target will teach you to aim at a deer. Your aim on a deer should vary based on the angle of the deer or the elevation of the shot.

8. Shoot 3D targets from different angles

The spot on a deer where you aim should be slightly different based on the angle of the deer’s body and how it’s standing. Think about where that arrow is likely to exit the deer as well as the spot where it will enter. You should take aim so that the arrow is likely is pass through both lungs.

It’s easy to picture how an arrow would pass through a deer that was standing perfectly broadside. However, how would your shot look on a deer that is angled looking toward you (quartered to) or angled looking away (quartered away)?

9. Shoot 3D targets from different elevations

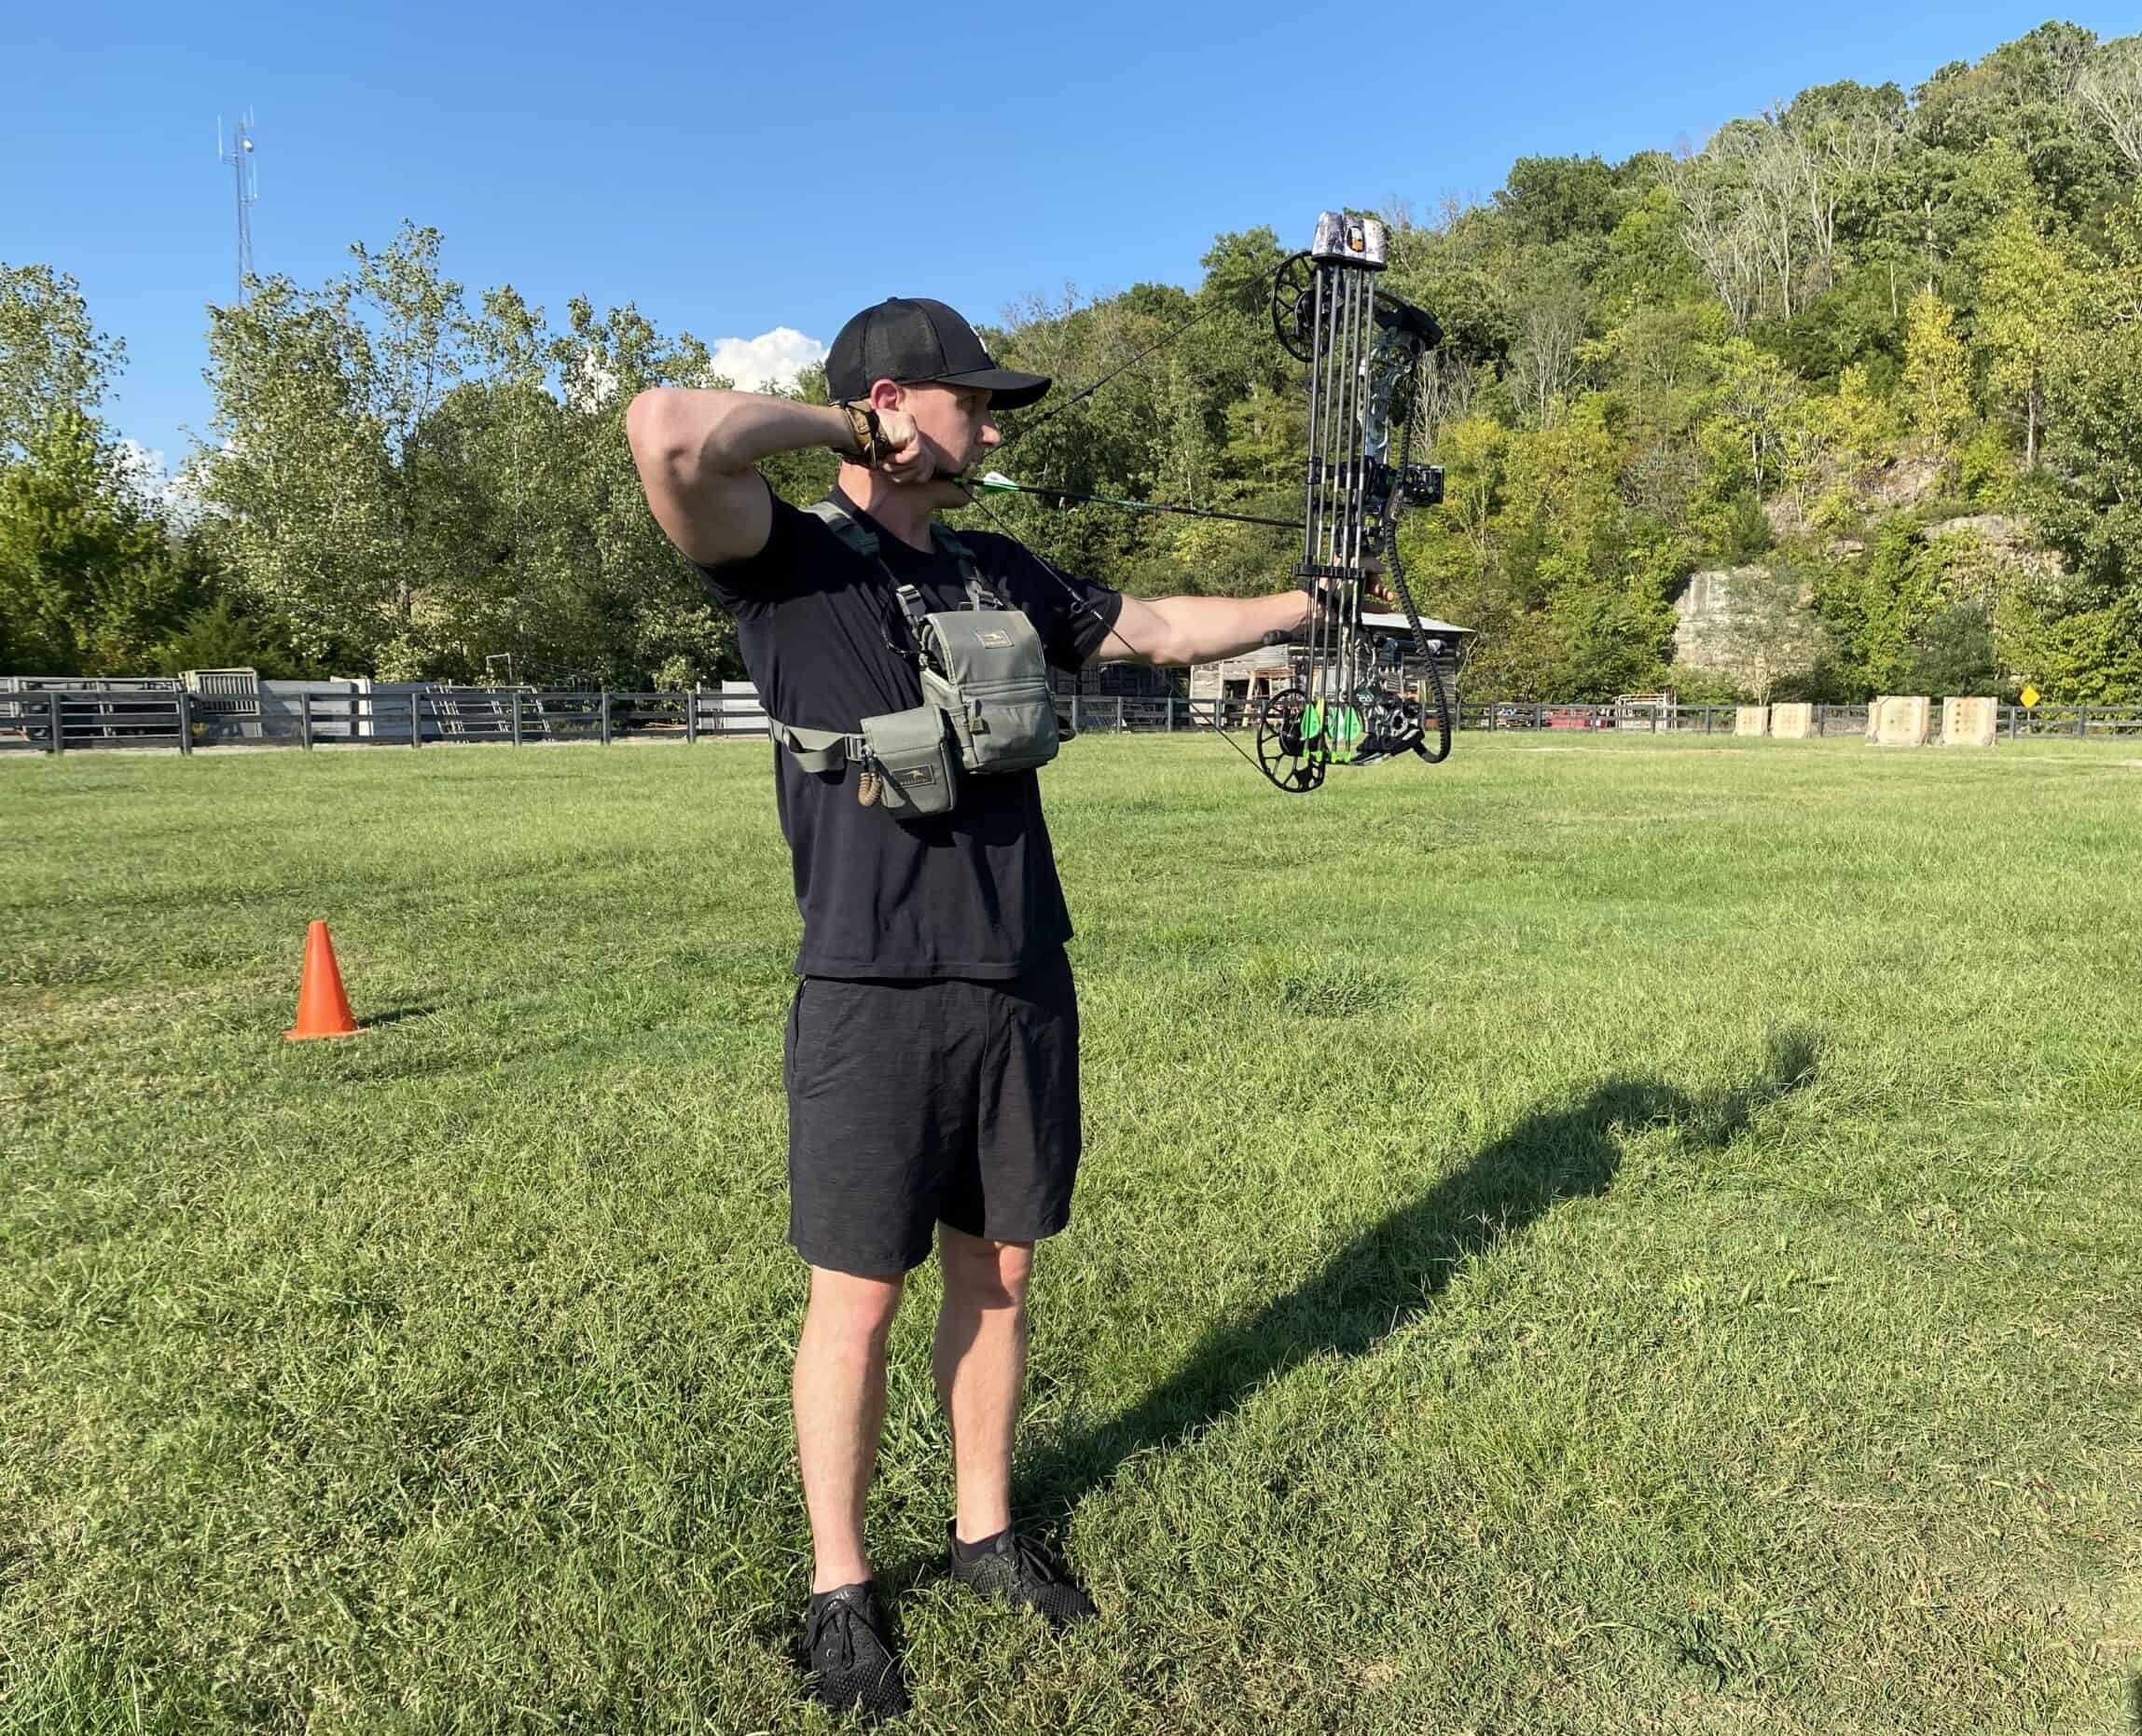
Shooting uphill and downhill is an important part of my practice routine as I’m preparing for hunting season. If you’re a beginner and you plan on hunting out of a treestand or blind, this is something you skip practicing. Some hunters fear heights. Practicing out of a treestand well increase your comfortability shooting from heights and will help ensure that you maintain good shooting form.

One of the biggest things to know about shooting from different elevations is angle compensation. A thirty-yard shot on flat ground will not be exactly 30 yards from a different elevation due to gravity’s effect on the arrow.

The best investment you can make after your bow is set up is to buy a rangefinder that calculates angle compensation for you. This will take the guesswork out of the equation so that you know exactly which pin on your sight to use when shooting.

I use my rangefinder for every hunt and every time I practice shooting my bow. If you’re not sure which one to buy I highly suggest buying this specific rangefinder. It is a critical piece of gear for any bowhunter or gun hunter and should last a lifetime. Money well spent.

10. Get good at guessing yardages

Deer will catch you by surprise sometimes and you won’t have enough time to use your rangefinder before you need to take the shot. Because of this, I use my rangefinder at the start of my hunt to learn how far away various objects are around me. I will range a tree, a rock, a mock scrape, etc. This will help make it easy determine how far my shot will be.

However, it’s still beneficial to get a feel for how far yardages are and be able to guess what those distances are. I can’t stress this enough if you don’t have a rangefinder. Without a rangefinder, you have to be great at this and it’s not that easy to do.

I have to say that if you don’t have a rangefinder then odds are good that you will eventually miss or wound a deer because you guessed the wrong yardage. I can guarantee that this will happen at some point if you hunt long enough.

11. Practice shooting in low light situations

Many shot opportunities present themselves during the hours of sunrise and sunset when it’s more difficult to see the pins on your sight. Practicing in low light situations will help educate you on the challenges of taking shots in low light situations.

12. Practice shooting in different weather conditions

Practice in all kinds of weather conditions. Learn how accurate you can be shooting on windy, rainy, and cold days. How much does the wind influence your ability to hold the bow still and how much does it impact the flight of your arrow? How long can you hold your bow at full draw during extremely cold temperatures?

Adverse weather conditions makes it more challenging to shoot accurately. Learn how well you can shoot in these weather conditions so that you can be more mentally prepared when hunting in them.

13. Shoot with your camo on

Practice shooting your bow while wearing your gloves, facemask, and coat. Wearing your camo will potentially change your anchor points. Right before you go hunting, take 1-3 shots while wearing your camo. Ensure that you are shooting exactly how you want and make adjustments as needed.

When I was a beginner, I remember practicing while wearing a heavy jacket and my bowstring slapped my forearm during the shot. After I did that, I learned how to flare my elbow outward so that it had a slight bend in it while shooting. This helped me avoid that situation from happening ever again.

14. Practice shooting long distances

Once you start getting accurate with your bow, start shooting targets at further distances. The vast majority of the deer that I kill are shot within 30 yards of my stand. However, I will practice shooting targets that are 60 yards away. If you can consistently hit a target at longer distances then you should be able to hit a paper plate at 30 yards fairly easy. Shooting long distances will improve your ability to focus your aim.

15. Practice shooting small targets

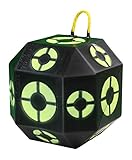
Make your practice challenging. When you shoot small targets, it makes big ones seems easy. In the movie “The Patriot” with Mel Gibson, he tells his sons to “Aim Small Miss Small” when firing at the soldiers. This phrase has always stuck with me and I think about it during real hunting situations.

When a deer walks by, I don’t just take aim at the vital organs of a deer, I pick a small spot near the shoulder and focus in on that little spot. Practice shooting at small targets like this one, and it will force you to get good at aiming small and missing small.

16. Have days where you only shoot one arrow

Once you feel like you are shooting good enough to go hunting, don’t stop shooting your bow during hunting season. There a few reasons why it’s beneficial to only take one shot with your bow. First, it lets you confirm that your bow is still shooting true. Second, you can shoot with your hunting clothes on (tip #12).

Lastly, you only get one shot when a deer walks by so you have to make it count. Learn how to make that one arrow count because you may only get one opportunity to shoot a buck of a lifetime.

17. Shoot while sitting down

Unless you are only going to be a spot-and-stalk hunter, you will be doing a lot of sitting while you hunt. If you hunt long enough, chances are good that you will take a shot at a deer while seated.

When the situation allows for it, I prefer shooting at deer while sitting down. I set up my treestands with this in mind. It’s much easier to keep aim at your target when you are able to keep your feet and butt grounded. This leads me to our next tip.

18. Practice like you hunt

Most hunters don’t practice like they hunt and often make poor shots because of this. Little details matter. I have already covered many of these little details in this article. How you prepare yourself and your equipment can make or break your hunting success. Try to imitate your hunting situations while practicing with your bow to best prepare yourself.

19. Shoot your broadheads

Did you notice at the beginning of this article how I said you should be able to hit a paper plate at 30 yards with broadheads and not field points? It’s very common for hunters to shoot good with field points, but as soon as they put broadheads on the end of their arrows they aren’t shooting accurately anymore.

So how do you fix this? Many hunters would tell you to shoot mechanical broadheads to help with this issue because they shoot more like field points. However, that’s bad advice. Learn why you shouldn’t shoot mechanical broadheads by reading my article. In that article I also provide my recommendations on which specific broadheads to shoot.

Fixed-blade broadheads can take a little more work to get them shooting accurately, however you don’t have to worry about other problems that are known to happen with mechanical broadheads. Also, by shooting fixed-blade broadheads you will have better odds over time at recovering more of the deer that you shoot. I have many years of experience learning this lesson the hard way. Just take my word on that.

20. Mentally prepare yourself

“Buck Fever” got its name for a reason. If a big buck is headed your way, you might find it difficult to keep your composure and make an accurate shot. If you practice shooting your bow enough, you shouldn’t have to worry about your shooting form. You need to focus on something else.

I suggest that you have something specific to think about during that moment of truth. I already told you what mine is. Aim small, miss small!

Mental preparation also mean visualizing certain hunting situations unfolding and how you would act if those situations were to play out. For example, if a buck walks down the trail to my right I will stand up when he walks behind that large oak tree so he doesn’t see me move. That will allow me to turn my body and pull my bow back for a shot.

Play out all kinds of situations like this in your mind and you will be prepared to make a great shot when it happens.

Conclusion

These 20 methods for practicing will help prepare you to make good shots in hunting situations. You can consider yourself ready to go hunting if your bow meets the legal requirements for deer hunting and you are able to consistently shoot a paper plate from 30 yards away with broadheads on your arrows. At the end of the day, you want to make an ethical shot on a deer. Make sure you practice good trigger-finger management and don’t be tempted to take shots at deer that you can’t confidently make.

Recent Posts